
This article will show step by step how to install Synology DSM 6.1.5 on a Proxmox (KVM) Virtual Machine using a Xpenology DSM bootloader.
Requirements (at the time of the writing):
- Proxmox 5.x installed
- Xpenology Jun’s Loader 1.02b for ds3615 (get “DS3615xs 6.1 Jun’s Mod V1.02b.img” here)
- DSM 6.1.5 PAT file (here)
(warning: images-intensive article)
Warning
This system is for testing or educational purpose, and It is NOT recommended for use in production environments.
For production, I’d recommend to go for an original Synology with a proper support.
We recommend …
… at least 2GB RAM
… at least 16GB of free disk space
Please, click on pictures to zoom.
Create a new virtual machine

General
Select :
- VM ID: 103
- Name: XpenoDsm61x
Click NEXT
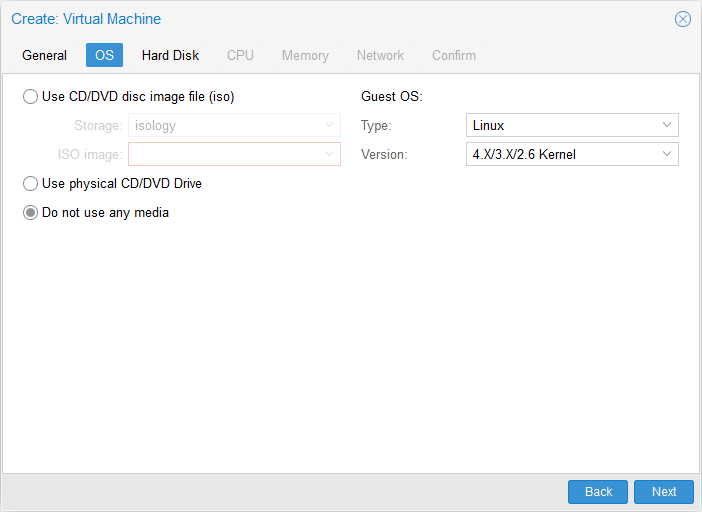
OS
Select : Do not use any media
For Guest OS, Select :
- Type: Linux
- Version: 4X/3X/2.6 Kernel
Click NEXT
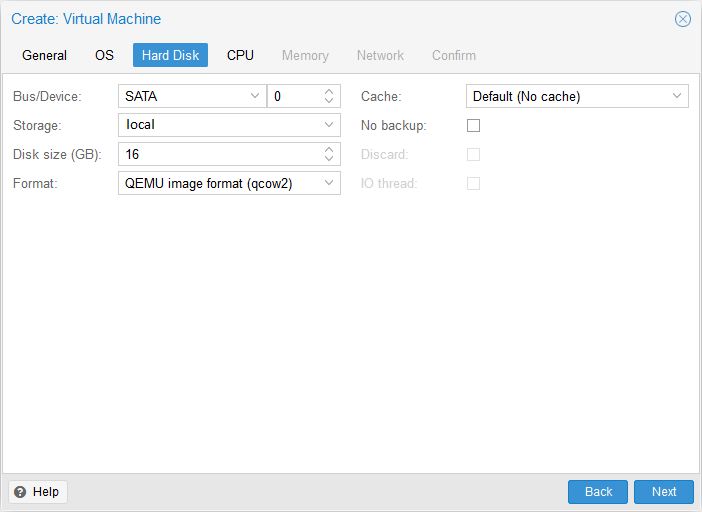
Hard Disk
Select :
- Bus/Device: SATA 0
- Storage: local
- Disk size (GB): 16
- Format: QEMU image format (qcow2)
Click NEXT

CPU
Select :
- Sockets: 1
- Cores: 1
- *
- Enable NUMA: uncheck
- Type: Default (kvm64)
Click NEXT
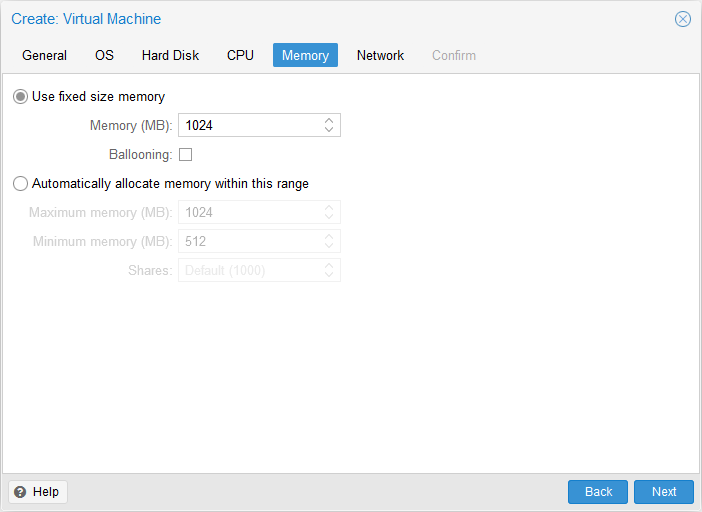
Memory
Check Use fixed size memory
Select :
- Memory (MB): 1024
- Ballooning: uncheck
Click NEXT
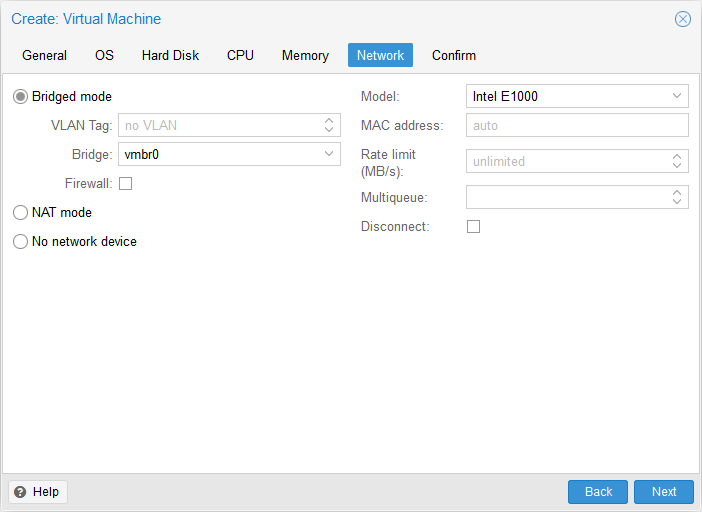
Network
Check bridged mode
Select
- Model: Intel E1000
Click NEXT
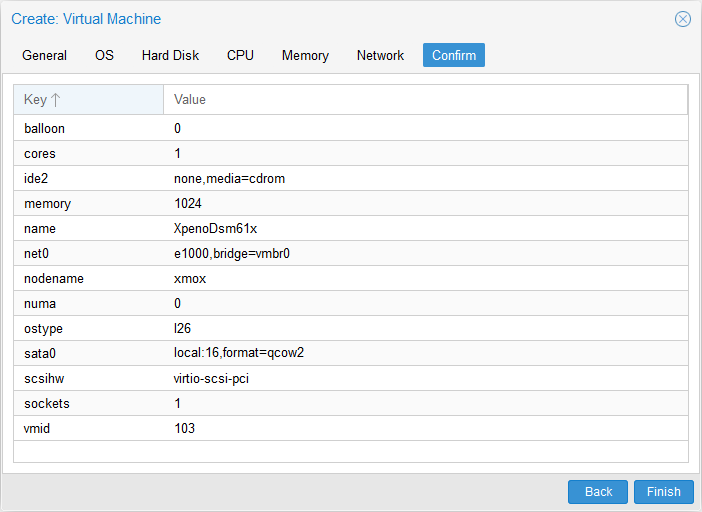
Confirm
Click FINISH
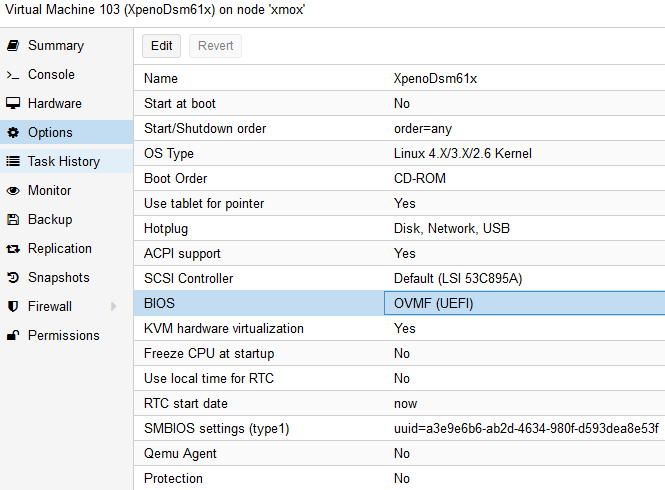
BIOS
Select
- SCSI Controller: Default (LSI 53C895A)
- BIOS : OVMF (UEFI)

EFI Disk
Click on Add button
Then Select EFI Disk
Then on “Edit: EFI Disk” dialog, Select
- Storage: local
- Format : QEMU image format (qcow2)
Edit VM conf file
Open a shell on proxmox server as root, and execute the following command: (Substitute your <VM ID> if not 103)
In the end, /etc/pve/qemu-server/103.conf file should look like that:
Transfert Jun’s loader img to proxmox server
Copy Jun’s loader previously downloaded on proxmox server as /var/lib/vz/images/103/synoboot.img.
For that you can use ftp (on port 22) or scp (or pscp for windows). By example:
pscp.exe "DS3615xs 6.1 Jun's Mod V1.02b.img" [email protected]:/var/lib/vz/images/103/synoboot.img
Now we are ready to install Synology DSM.
Install DSM
Start the VM and open a console.
BIOS Boot order change
Enter the BIOS by quickly pressing F2 key

Then Select Boot Maintenance Manager > Boot Options > Change Boot Order
Then Press Enter
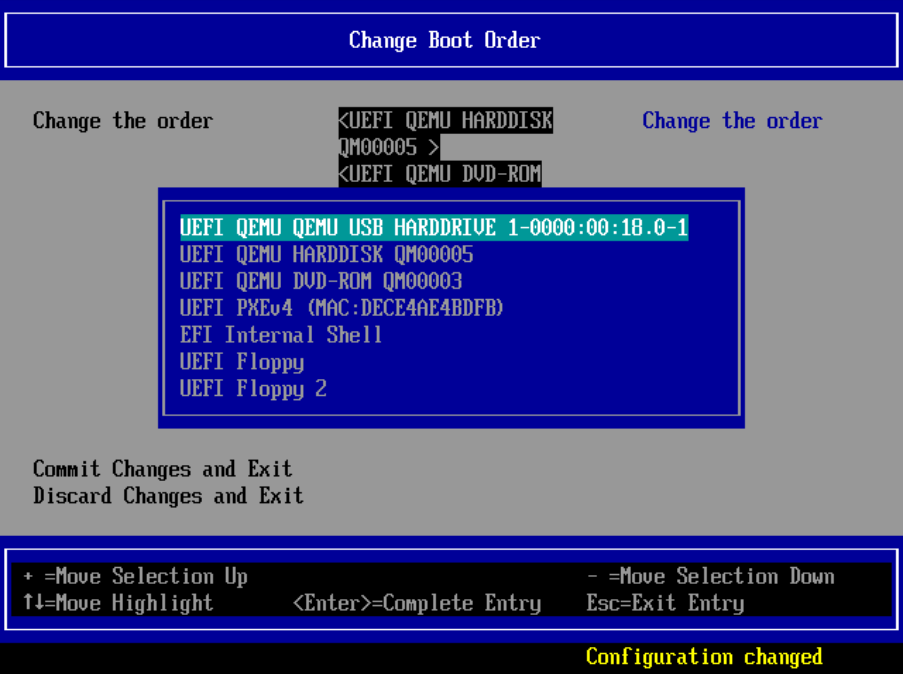
Highlight “QEMU USB” then press + key until it is on the top
Validate by pressing Enter
Then go down, and select Commit Changes and Exit
Press Esc key until you return on the first BIOS screen
Then select Reset
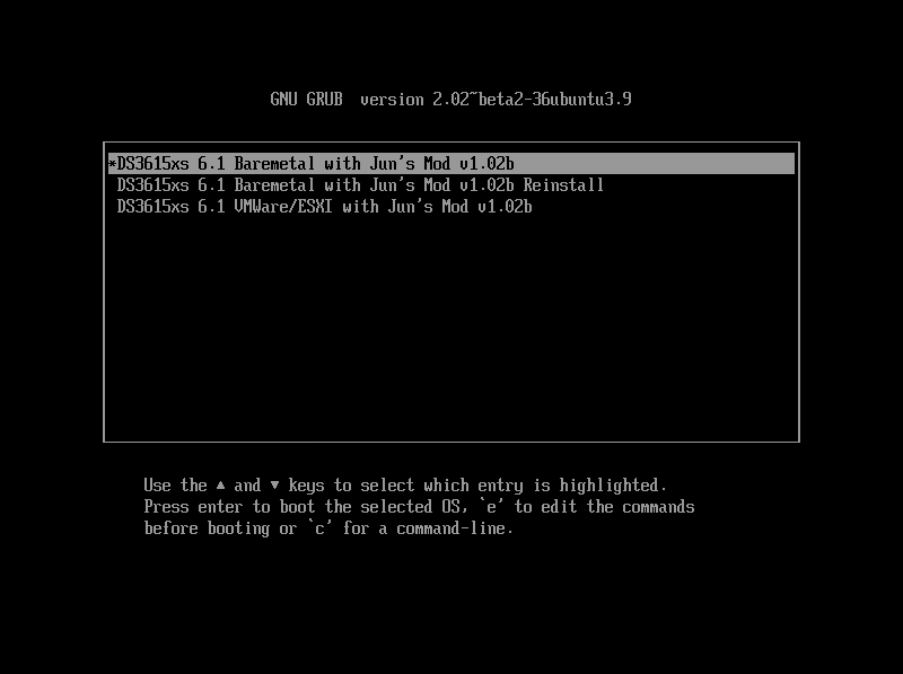
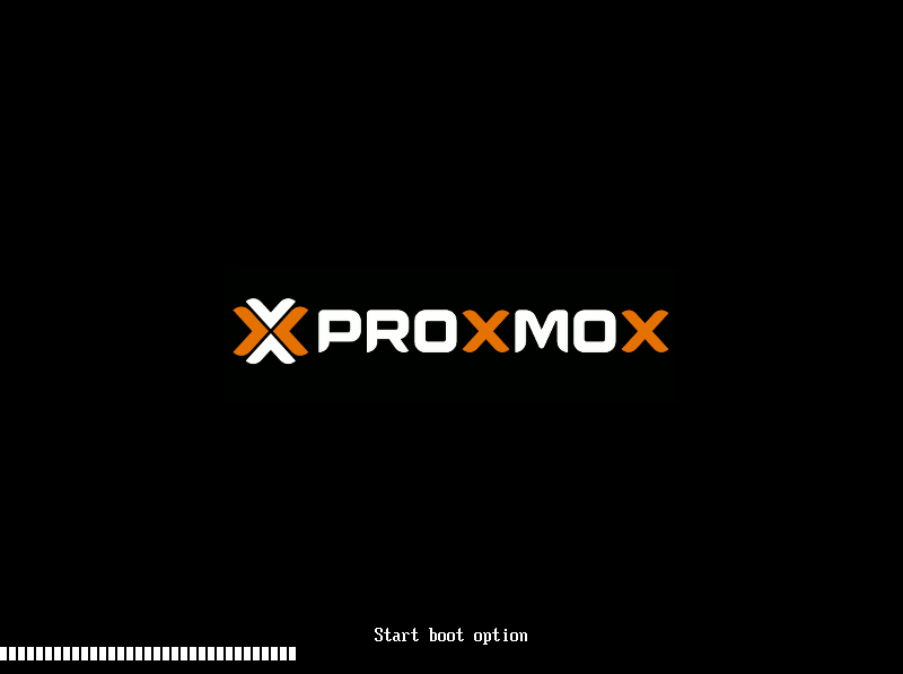
Start Bootloader
In the GRUB menu, Choose the first one (Default)
Then the next screen will invite you to go to http://find.synology.com
If website cannot find you synology to install, Try the following instead:
- Synology assistant (here), then double click on your synology
- Find your synology local IP on your router with the following mac address: 00:11:32:2C:A7:85 . Then enter its ip address in a web browser.
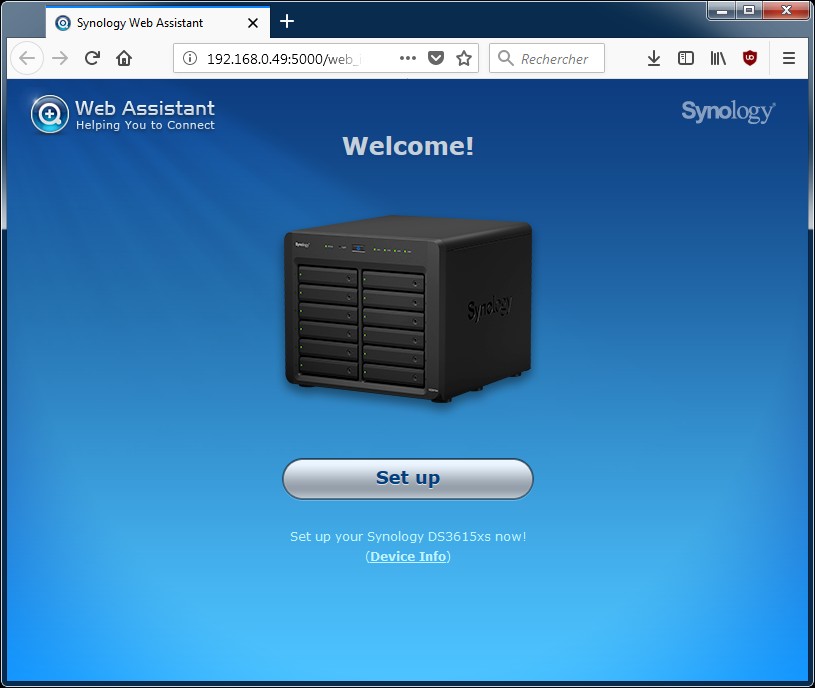
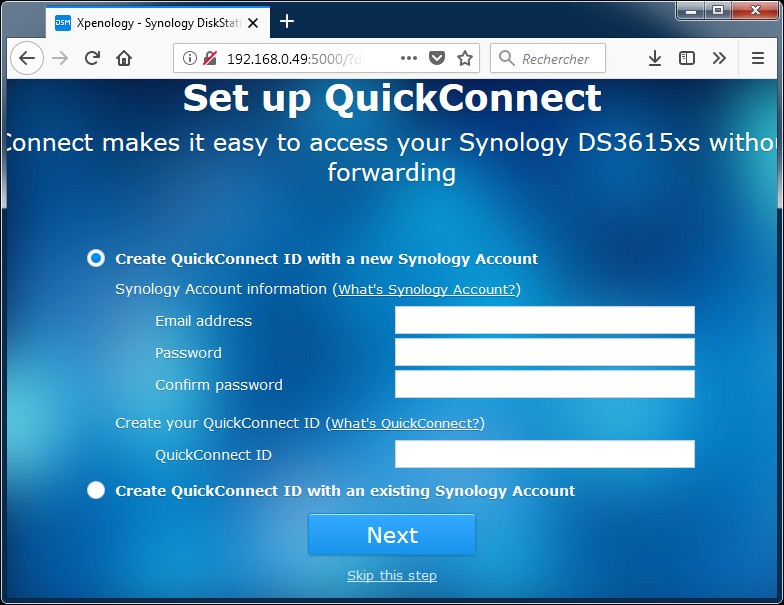
Click on Set up button
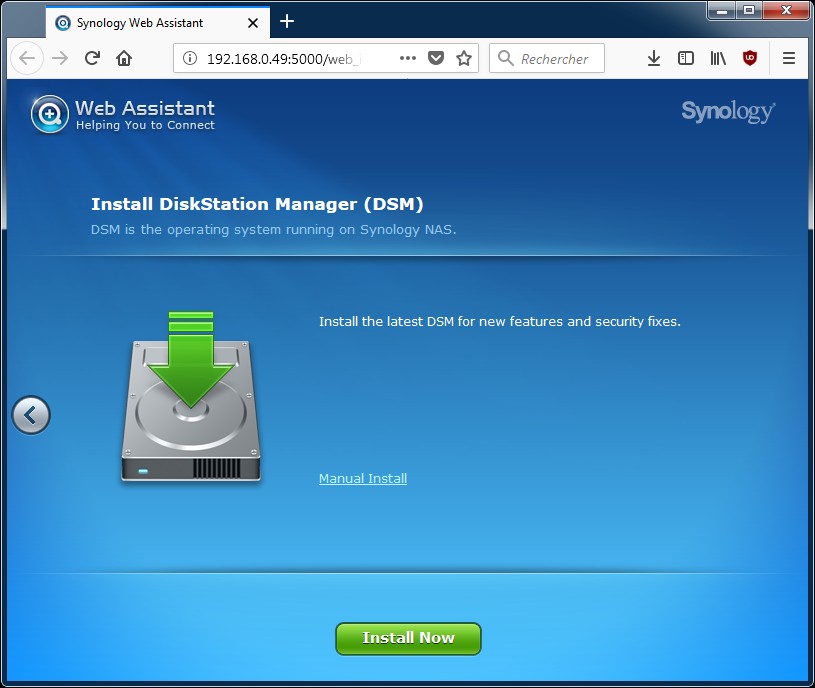
Click on Manual Install
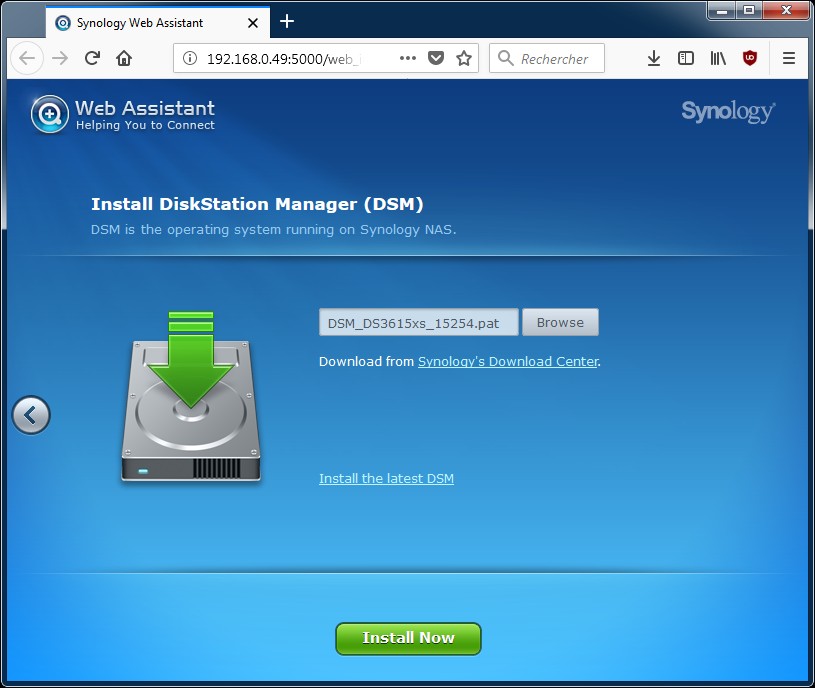
Click on Browse and Select DSM 6.1.5 PAT file you have already downloaded
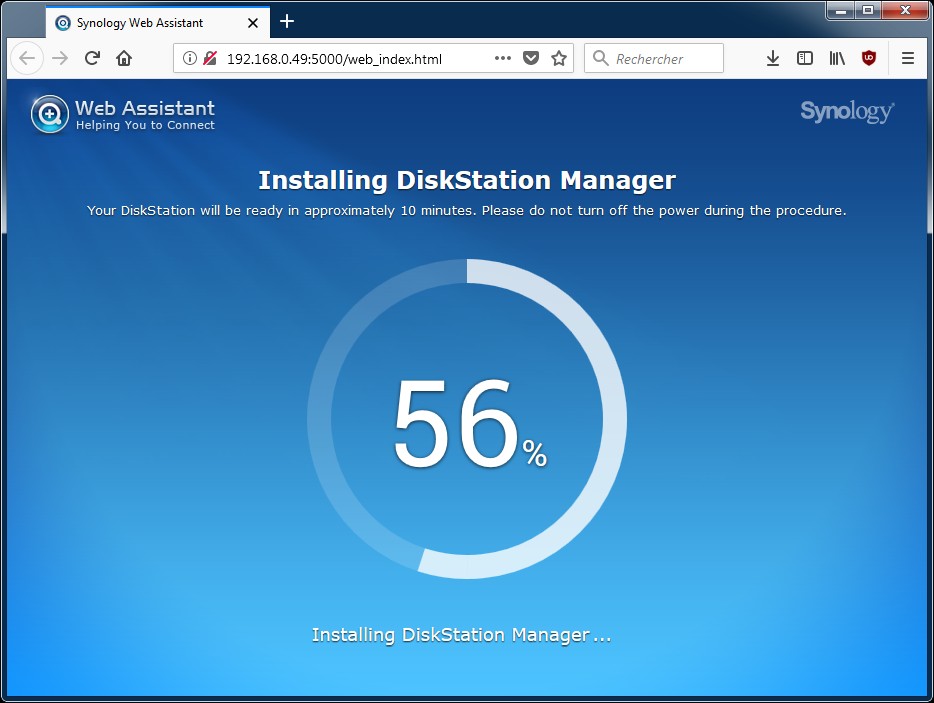
Wait until installation complete.
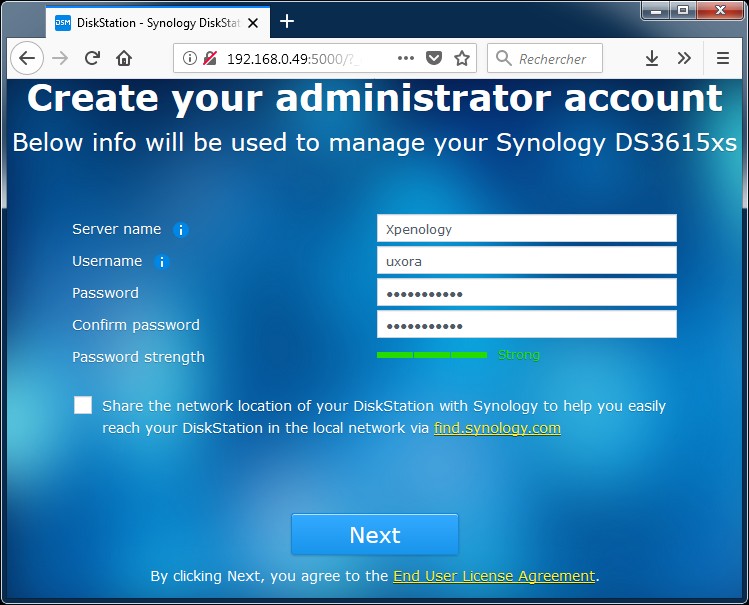
Enter your server name, credentials and uncheck the box.
Then click Next
Click Next
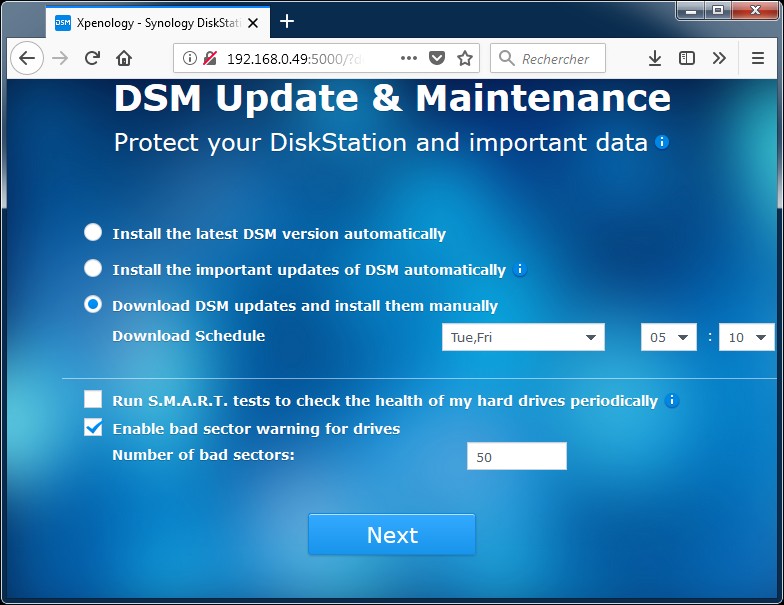
Check “Download DSM updates and install them manually” (let the download schedule by default)
Then click Next
Click on skip this step
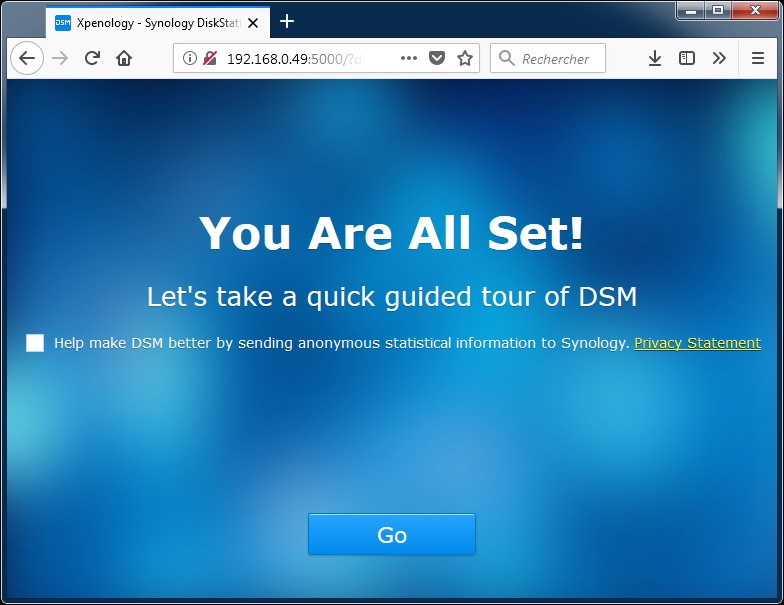
Uncheck box, then Click Go
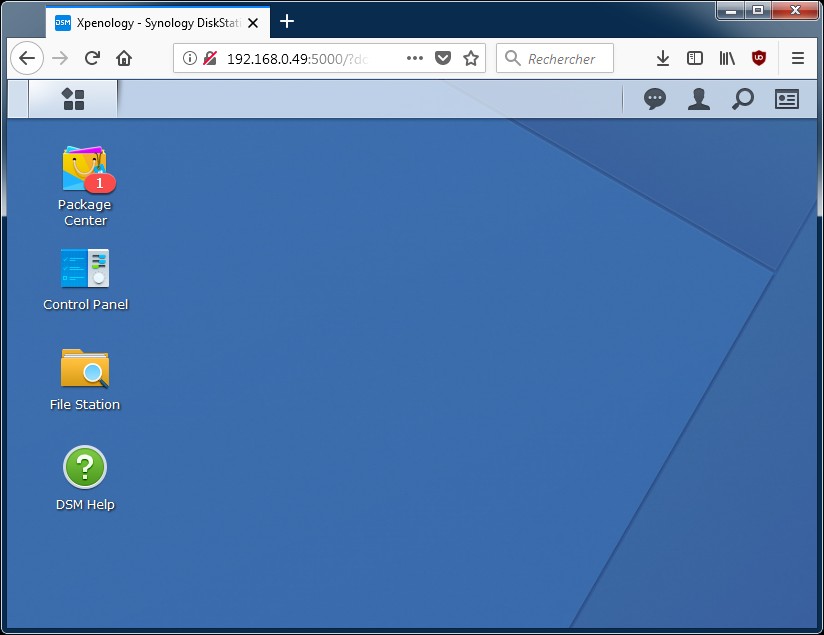
That’s it your synology is now ready to use!
HTH,
Michel.
Note
Sata controller card can be directly passtrough to the VM in order to get Synology DSM to have direct access to the sata disks.
This can be done by adding these kind of lines to the vm conf: (your pci port can be different)
– machine: q35
– hostpci0: 05:00,pcie=1
For VirtIO network, you may find on xpenology.com some jun’s loader mod with VirtIO driver added.
To enable ACPI power in order to be able to shutdown the VM through Proxmox VE, check this post.
Reference
Forum Xpenology (xpenology.com)
Tutorial: DSM 6.x on Proxmox (Thread on xpenology.com)